

Get a Quote
Step 1: Consultation & Mockup
We meet at your office for a brief conversation and quick measurements. Within a few days, I will send you a digital mockup based on our conversation.
This is completely free.
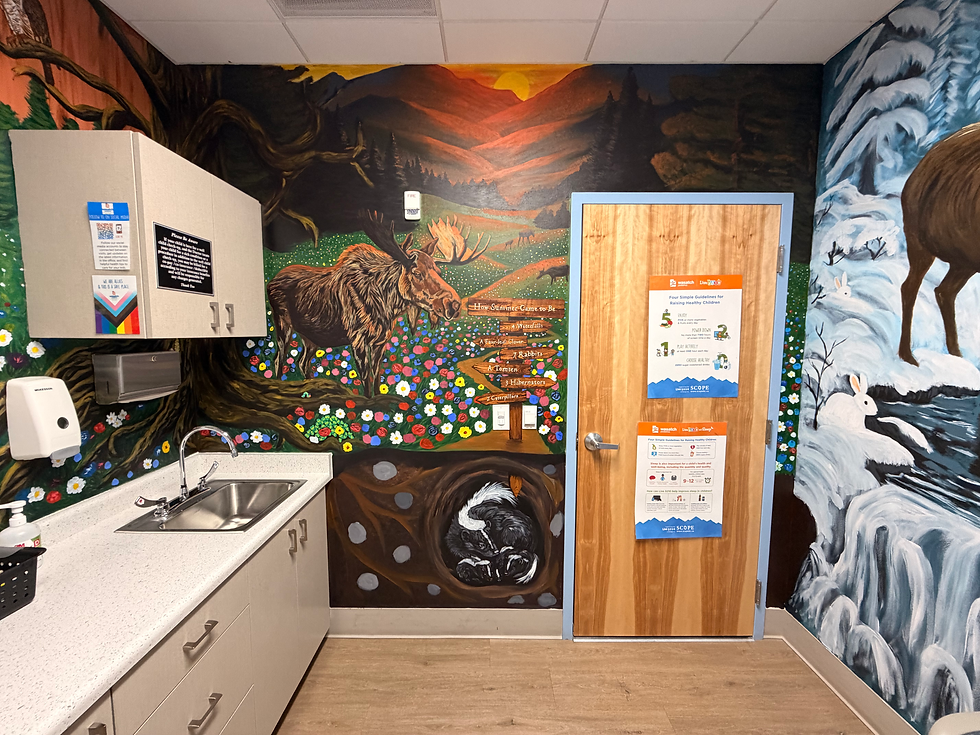
Step 2: Creating the Quote
Using the dimensions of the room and elements of the design, I create a quote for the project. Rates may vary depending on the complexity of the design, but most patient rooms with a 9-foot by 9-foot dimension come out to around $4,000. I keep the design within my standard rate unless more detailed elements are requested.
Designs with elements of extreme detail cost more, simply because these take longer. (For example, I love doing portraits, as they are my specialty. But they are time consuming.)

Step 3: The Deposit
Once you agree to my digital mockup and the quote, I'll send you a simple bid contract and you can get on my schedule by paying a 30% deposit. This deposit pays for materials and ensures you are on the schedule. Once I start painting the room, the deposit is non-refundable.

Step 4: Painting
Once I start working, I become like a ghost in the office. Rarely seen. Rarely heard. I just get to work.
However, since I work primarily on weekends, often starting very early, I do require access to the office when others are not there. Typically, this involves getting approval for an access card and/or providing a door code/security code.
You will also need to notify staff that I will be working in the office so that nobody thinks I'm an intruder and calls the police when they show up to open the office. (This very nearly happened.)

Step 5: Payment
Once the room is finished, I send an invoice for the remaining 70% of the bid.
Hopefully, you'll be so excited about the artwork that you'll want to book me again and you'll want to show all your patients my room. However, if you're unhappy with anything in the room, I will do my best to fix the issue (within reason). Feel free to make these requests while I'm working on the room too. It's much easier to make changes while I'm in the process than after the room is completed.

Step 6: Protective Coating
After the room is complete, I highly recommend applying a protective coating. This allows you to clean the walls without damaging the art and protects the paint from fading due to UV light.
However, I don't include this as part of my quote because I lack the expertise to apply this coating myself without leaving roller lines and drip lines. I have found that it is best done by painting professionals. I can recommend a company.